

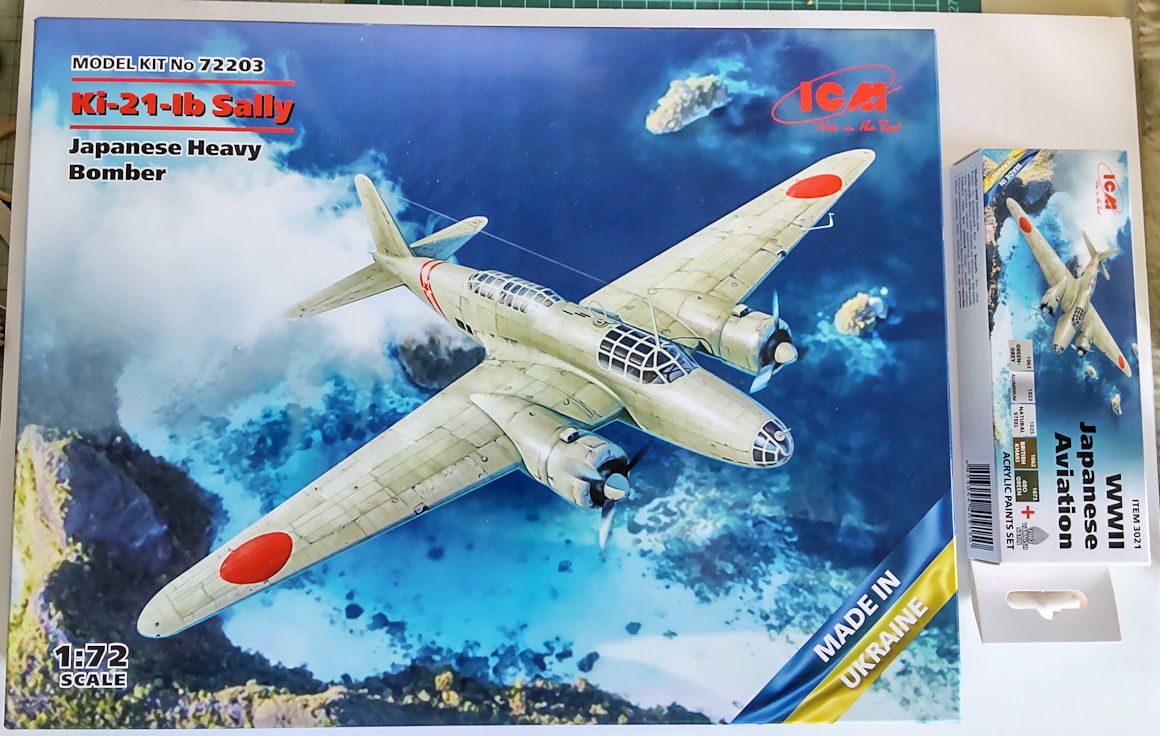
ICM very kindly presented Arawasi with their wonderful brand new "Sally" kit and I'm going to build it Out-Of-The-Box. Really happy with their present and can't thank them enough.
The box I received included, apart from the kit, a set of ICM paints for it. Great surprise and can't wait to try them out.
 |
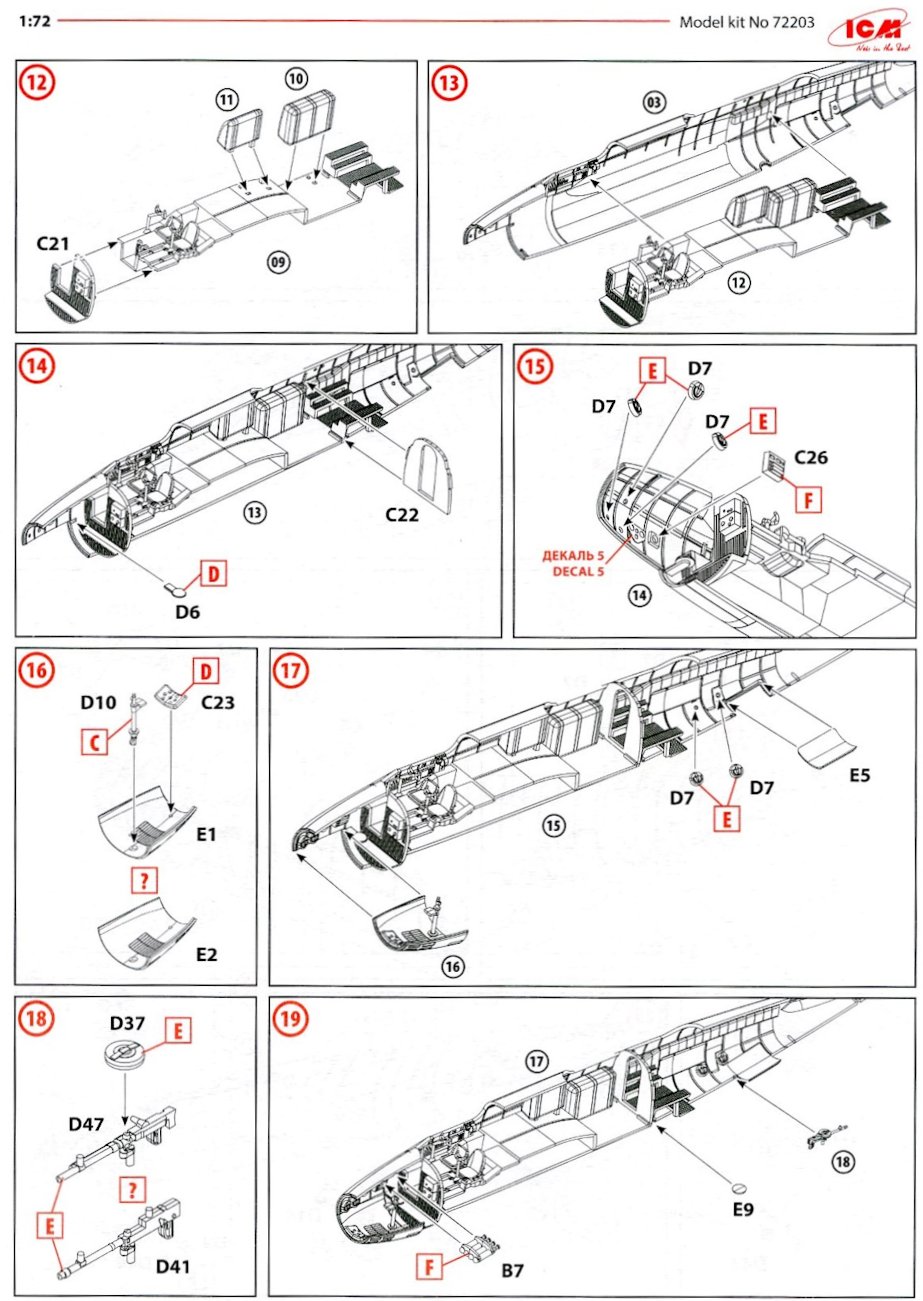
| The instruction sheet. |
Here we go. Very clear instructions and the parts fit quite nicely.


The side windows must be masked inside and out before any paint is applied. Hmmm...
16/12 Update:
Made quite some progress and finished, give or take, the cockpit and the starboard side of the fuselage.


There are some tinny tiny parts like D5, D45 and D11 I'm not sure I understand the point of having them separately and asking the modeller to handle and glue them. They would make sense in a 1/48 kit but in 1/72 I think they are unnecessarily complicated challenges. Same with the fuselage interior side wall and the tail. What's the point of including these parts separately?
I appreciate the inclusion of the seat pillow for the pilots but the back pillow should also have been included. And it would have been much better to include seatbelts too.

There are issues if you follow the instruction to the letter and, once done, then paint the whole interior before closing the two halves. Step 2 needs you to attach decals, which means you cannot paint this part afterwards. And there are a bunch of windows in the rear of the fuselage that will need to be masked first if the interior is to be painted.
So, best to paint the interior at this stage and then attach smaller "movable" parts like the windows, the bomber's aim or the machine gun spare magazines.
20/12 Update:
Okay, "short" update today.
I finished the base colour for the fuselage interior. I decided to use the Vallejo paint you recommended. This time I used AK11900, which according to the bottle, is " BRAND NEW FORMULA 3rd GENERATION"...that "beats any other acrylic type paint".
I've been struggling the past few days with the damn thing and I had to spend quite some time I'll never get back, disassembling and cleaning three different clogged airbrushes about a dozen times. I always got "spider webs" and...yes, I know, maybe it needed more or less thinner, different pressure settings for the compressor or different size needles or maybe I didn't shake the bottle enough or too much or maybe it's because I didn't use a "retarder". OR maybe I should have used my good old MrColor paint instead! How about that!
In the end, it came out not bad at all and I like the colour hue but this is the very last time I'm buying Vallejo paints. I'll try to use what I've already bought but never again. Modelling is supposed to be fun and this exercise definitely wasn't. I know many of you guys love Vallejo, you're used to them and can achieve great results. Good for you but for me, no thank you. For a novice modeller like me, Vallejo is too fastidious and finicky for my tastes with too many parameters that could go wrong. So, I'll stick to Tamiya and MrColor I know and trust. I'll try mixes of MrColor H-54 and Tamiya XF-50 to bring them closer to the Vallejo hue and we'll see about the results.

5 comments:
Very nice kit but pity no bomb bay
Personally, I wish they had included an open dorsal canopy option. But both the bomb bay and the open dorsal position will be included in the 1/48 version.
Thanks for your reply. Will definitely purchase the 1/48 kit. An aside in the BBC series World at War episode 22 at 5minutes 28 seconds their is an excellent view in the cockpit/bomber position of an aircraft under construction. Looks like a Ki-49. what do you think it is?
Just posted the answer to your question. HTH
I've also got one of these, which I intend to start building this week, once I've made some room on the workbench by finishing other projects. My initial impression is that it's a very nicely made kit, and yours looks to be coming along nicely as well.
cheers,
Mark.
Post a Comment