Hi,
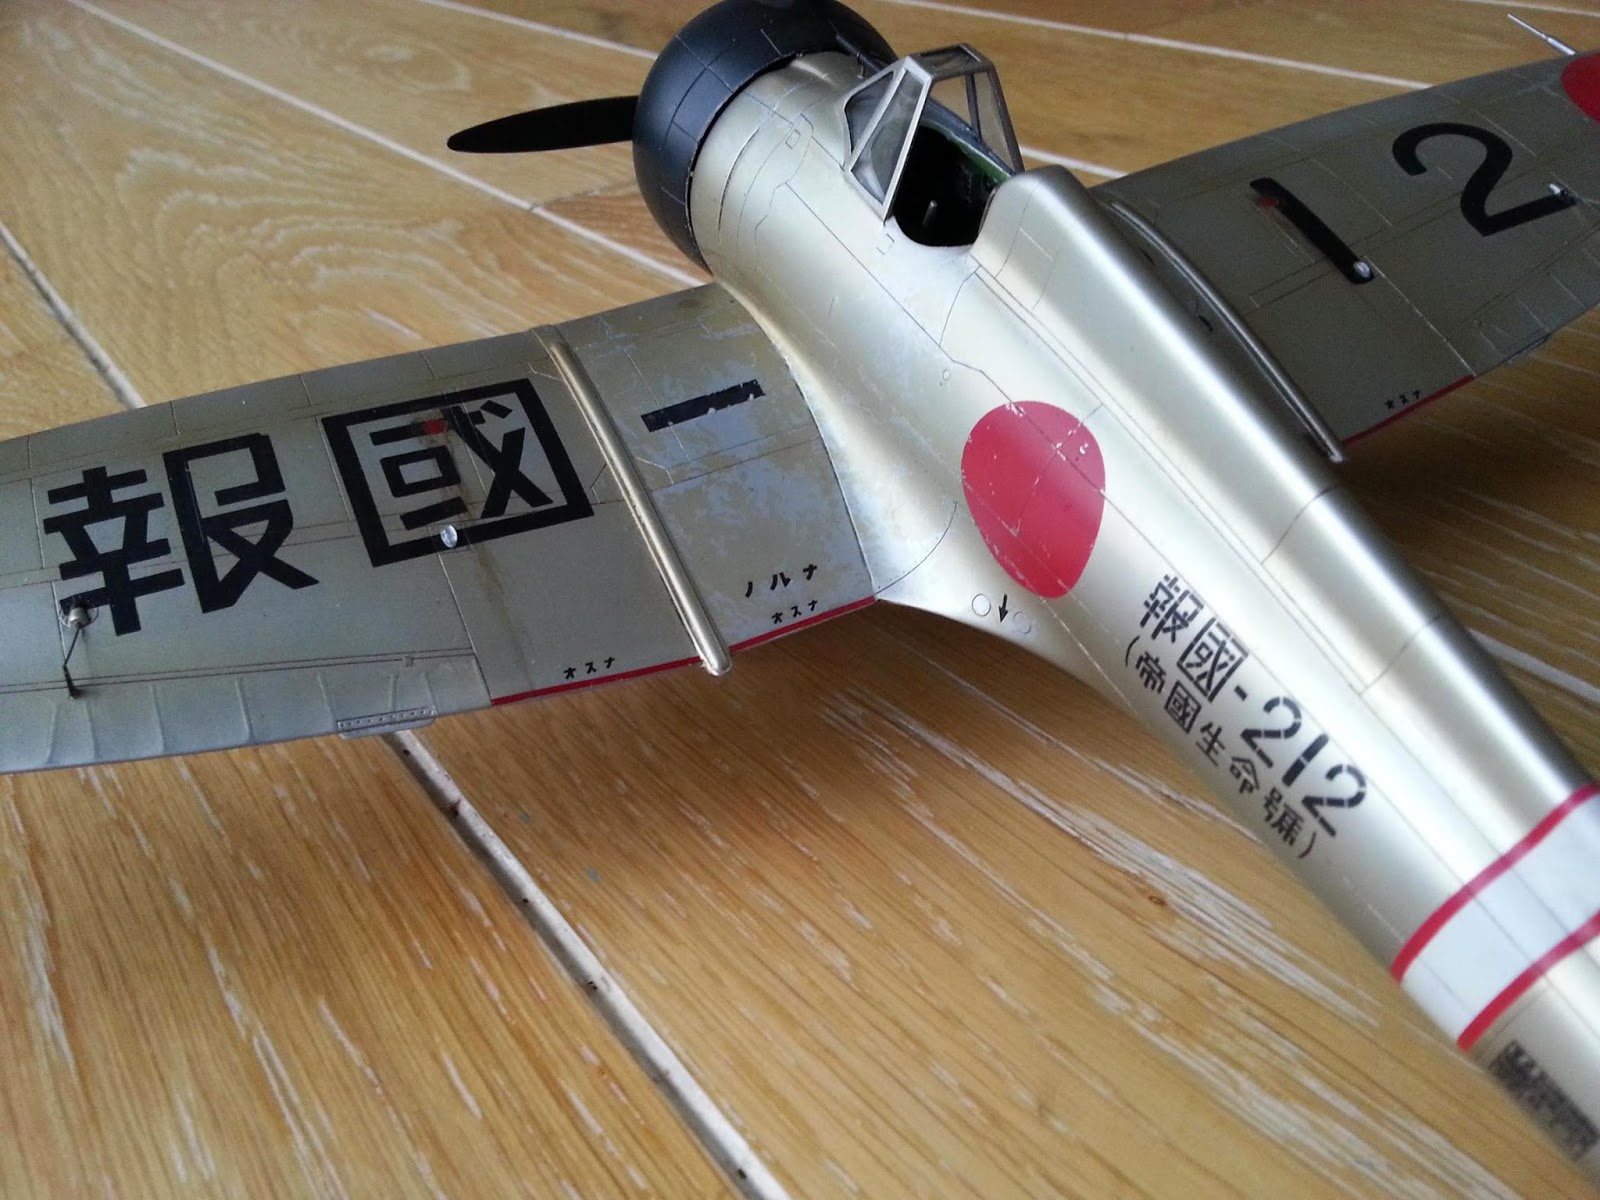
This is the last build I've finished. It is the Special Hobby A5M2b in 1/32, built OOB, with one of the 2 schemes from the box as well. It is a pretty good kit, with nice details, but not always easy to deal with. Indeed, there is a few traps and the instructions are not always clear. But with a bit of work you can get something nice.
I've added a bit of details (especially wires) in the cockpit, and had to redo all the internal structure with styrene strips because the parts from the kit were unusable with the resin parts (it did not fit at all). The dials on the instruments panel are from MDC. I drilled the back bulkhead to make it hollow, and drilled some areas in the floor as well.
For the engine, I used the kit sparking wire, supplied as a PE part, but it look good. I've laid a few coats of Mr Surfacer with a brush on the wires to make them looking more tri-dimensional. I replaced the pushrods with 0.45mm nickel silver rods from Albion Alloy, which have been blackened with the Uschi burnishing solution (and it works, even if it is not brass). The cowling struts are made with 0.33 nickel silver rods, and I had to flatten one end in order to glue them on a tiny bracket glued on the engine crankcase. It is very fragile, but no choice.
As an early A5M based in China, I wanted to get this kind of golden color, and my own interpretation of it is that it is actually a tinted varnish (or a clear varnish that became yellow when weathered), certainly the same kind than the Ame-iro seen on the A6M's. The best way to get the same aspect was to get the same way. So I've started with a coat of alclad, and then a coat of custom made tinted varnish. The recipe is approximately 70-80% satin clear, 5-7% clear yellow, 5-7% clear orange and 10-15% smoke, and you should get something that is clear brownish. Just before spraying the varnish, I've used some AK chipping product, to make a few scratches and chips on the wing roots and cockpit sides.
Then I've used custom made masks for the hinomaru, and painted the tail with the same red (a mix of gunze flat red, vine red and a bit of insignia red). And then it was the drama.... Some paint (varnish + alcad) came off with the masks..... Usually, this kind of issue is not a big deal to repair, only a few touch-ups and everything is ok. But in this case, I have this varnish and it is impossible to make an invisible touch up, as the varnish is clear and any touch up would build it up and make it stronger and stronger around the peeled off area. So after a few days of thinking, I decided to mask all around the damaged area, to sand it clean and to repaint those area from scratch. The repair is not invisible, but I can live with it !
The decals from the kit are very good, and especially thin. That can even become a problem as they have a tendency to fold on themselves, and they become very sticky on the surface pretty fast, and then it is very difficult to make them move. I think micro set on the model before placing the decals must be avoided, but micro sol on placed decals is ok, and the decals react well.
Then the weathering was done with a wash of Flory model dark dirt to highlight the panel lines, and then some enamel AK washes, followed by a coat of satin varnish.
The exhausts have been painted with shades of rust colors with a coat of AK chipping product to make a kind of rust crust.
WIP: HERE, More photos: HERE
Nicolas Renoult - FRANCE


No comments:
Post a Comment